Jewelry Fabrication 101 – Ring Making
The Journey of Making Your Own Wedding Rings
At LaProng Jewelers in the heart of Carrollton, Texas, every wedding set we help create is more than just jewelry – it’s a testament to someone’s love for another. It’s for this reason we want to help YOU, not just buy a wedding ring, but MAKE something meaningful! From the initial spark of an idea to the final, dazzling polish, our dedicated team of skilled jewelers pours passion and expertise into each ring making workshop. Join us as we reveal the fun and simple steps involved in bringing your dream ring to life in LaProng’s DIY Workshop Experience.
In the DIY ring making workshops, we guide you through this fun and easy, step-by-step process to make rings for each other. You simply measure, cut, shape, solder, and finish your wedding rings with a little help from us. You work with a few different hand tools that include: a jeweler’s saw, torch, files, and other specialized equipment to create your own unique wedding rings. Most people will fabricate and finish their rings in approximately 6 hours. In the end, you take home your creations at the end of the workshop!
10 Steps to Making Your Own Wedding Rings 👣
1. Your Vision Takes Shape: Design & Consultation
The journey begins with you. Whether you have found a design from our catalog of project ideas or you already have a specific design in mind, we will connect with you to understand your vision and make sure we are aligned on expectations. Through collaborative discussions, you sharing example pics, sketches, or a link to a Pinterest board, our goal will be to help you translate your ideas into a blueprint for your bespoke piece, ensuring every curve, setting, and detail reflects your personal style and story.

2. Selecting the Soul: Precious Metal Choices
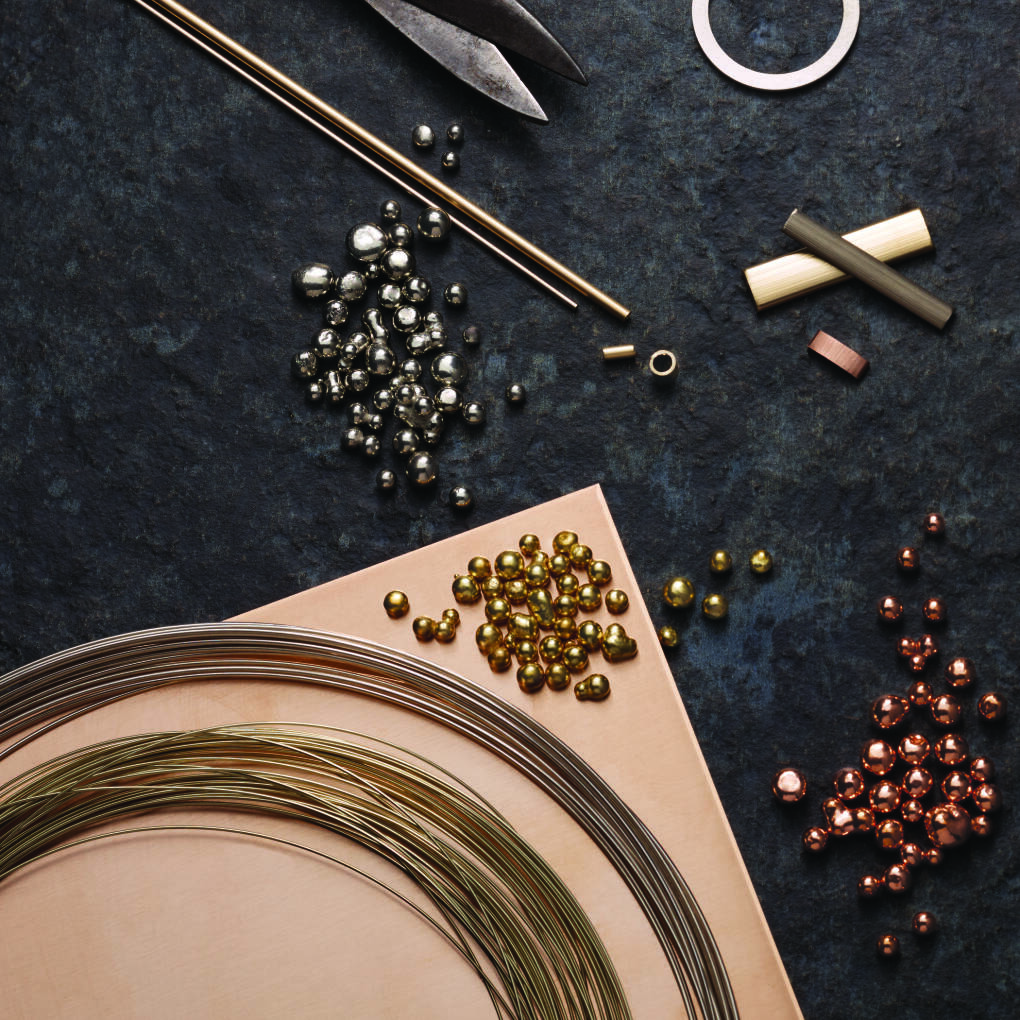
The foundation of exceptional jewelry lies in the quality of its materials. At LaProng Jewelers, we use only the finest, responsibly sourced precious metals in the ring making process – from the warm glow of gold (available in various karats and colors) to the timeless elegance of platinum and the classic sheen of sterling silver. Each metal possesses unique properties that contribute to the beauty and longevity of your cherished piece. Our expert jewelers can guide you in working with the right metal to complement your design and preferences.
The process to make a classic-style wedding ring can be done in a few different ways. Techniques of casting, fabrication, machining or a combination of both can be used to make a ring. However, in the DIY workshop, the approach is to keep it simple with basic fabrication techniques. This approach is intended to be straightforward to accomplish a professional, high-quality result in the designated amount of time in your workshop.
3. The Heart of Brilliance: Ethical Stone Sourcing
For pieces featuring diamonds and gemstones, our commitment to ethical sourcing is paramount. As part of the service we offer for all the jewelry we make, we meticulously source each stone, ensuring it meets our stringent standards for cut, clarity, color, and carat weight. We work with trusted suppliers who adhere to responsible practices, such as the Kimberly Process, bringing you stones of exceptional beauty and integrity. We offer a wide variety of GIA, IGI, and GCAL graded diamonds and gemstones.

4. Bring it to Life: The Fabrication Process
With the design finalized and materials selected, our master jewelers in our DIY ring making workshop will help you bring the vision to life. Using time-honored techniques and meticulous attention to detail, they expertly fabricate and assemble the metal components of your piece. As we explain in more detail below, this process involves shaping, soldering, and forming the metal to create the intricate framework of your jewelry
5. Measure it 📏
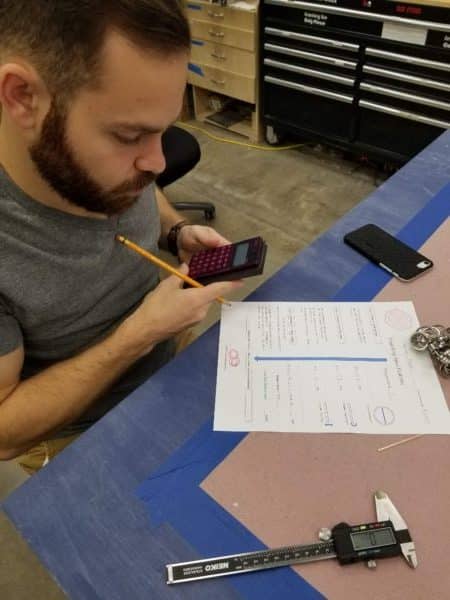
As with every ring making project, planning is key! First, you will figure out your ring size and determine how much metal you will need to make your ring. A couple of quick measurements and a few simple calculations will give you the plan to get started. You measure and do a little math before moving on to the next step.
6. Cut to Length🪚
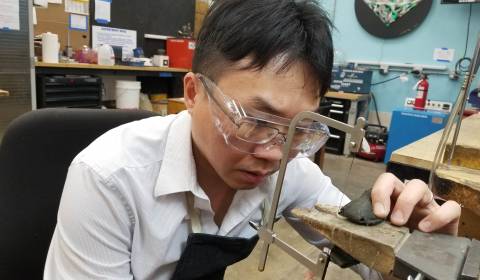
You will need to use a jeweler’s saw to cut your ends clean. Once complete, you will have formed what we call your ring blank. Much like a wood saw, the blade should do most of the work, but a consistent and straight cut isn’t necessarily easy work.
7. Shaping ⭕
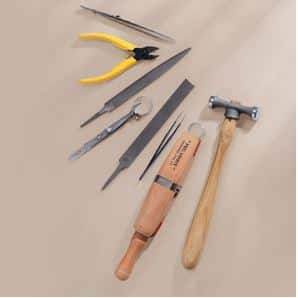
Once your ring blank is at the correct length, you will begin to shape and form it into a ring. You will use forming tools and a little muscle to bring each end of the ring blank together.
8. Bonding it Together: Soldiering 🔥
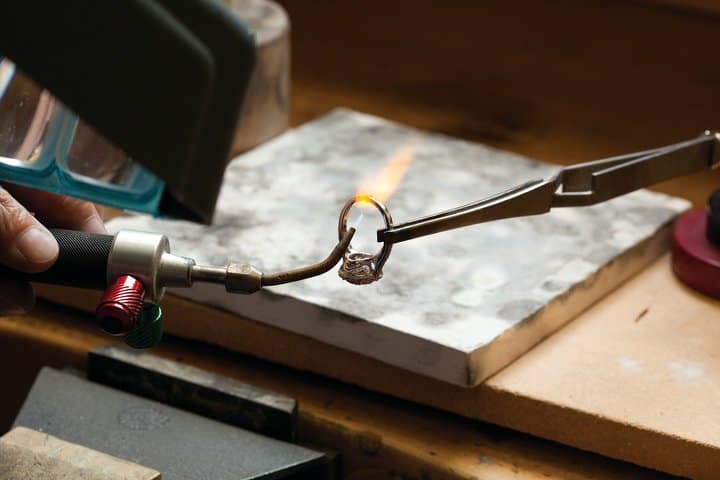
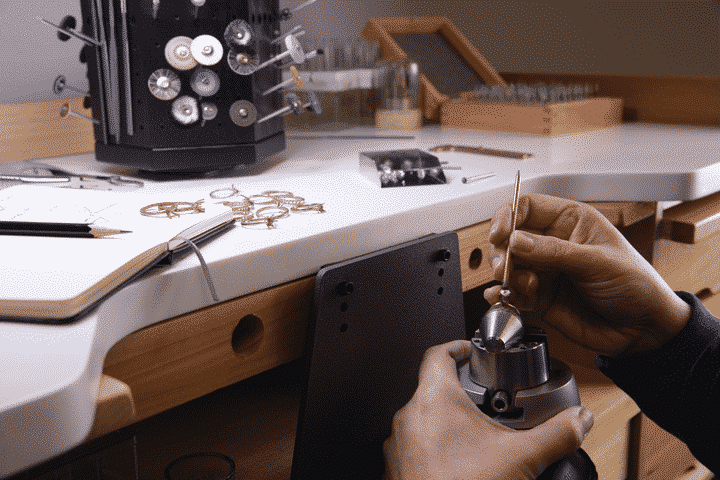
Once your ends have come together perfectly, you will be guided through the process of soldering. You will begin to heat your ring with the torch and apply solder to close the ring and bind it together. This process is always fun with a little fire to heat things up!
9. Achieving Perfection: Polishing & Finishing ✨
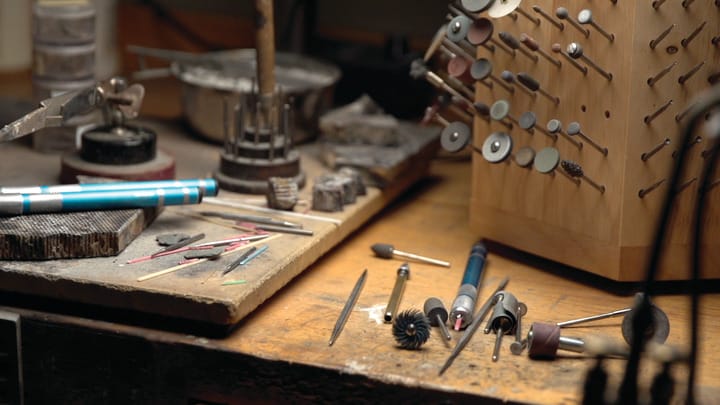
After soldering, you will begin cleaning your ring up and start preparing your wedding rings for the final polishing step. You will use an assortment of files and or sandpaper to remove excess solder and tool marks.
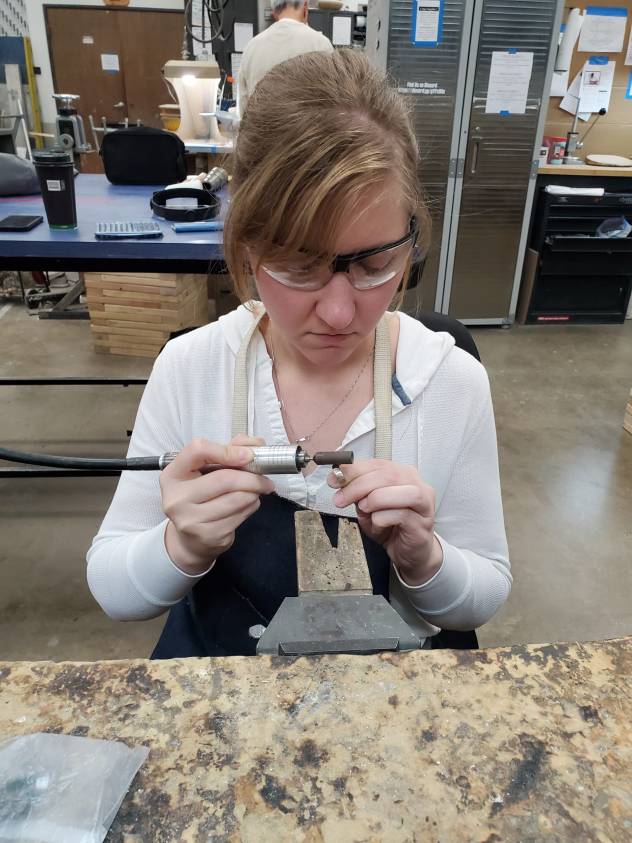
The last step in the ring making process will be to ensure your ring is round and the right size. After that, you will add the final finish or polish to your new custom-made wedding ring!
10. Ready to Treasure: Wear it!📷
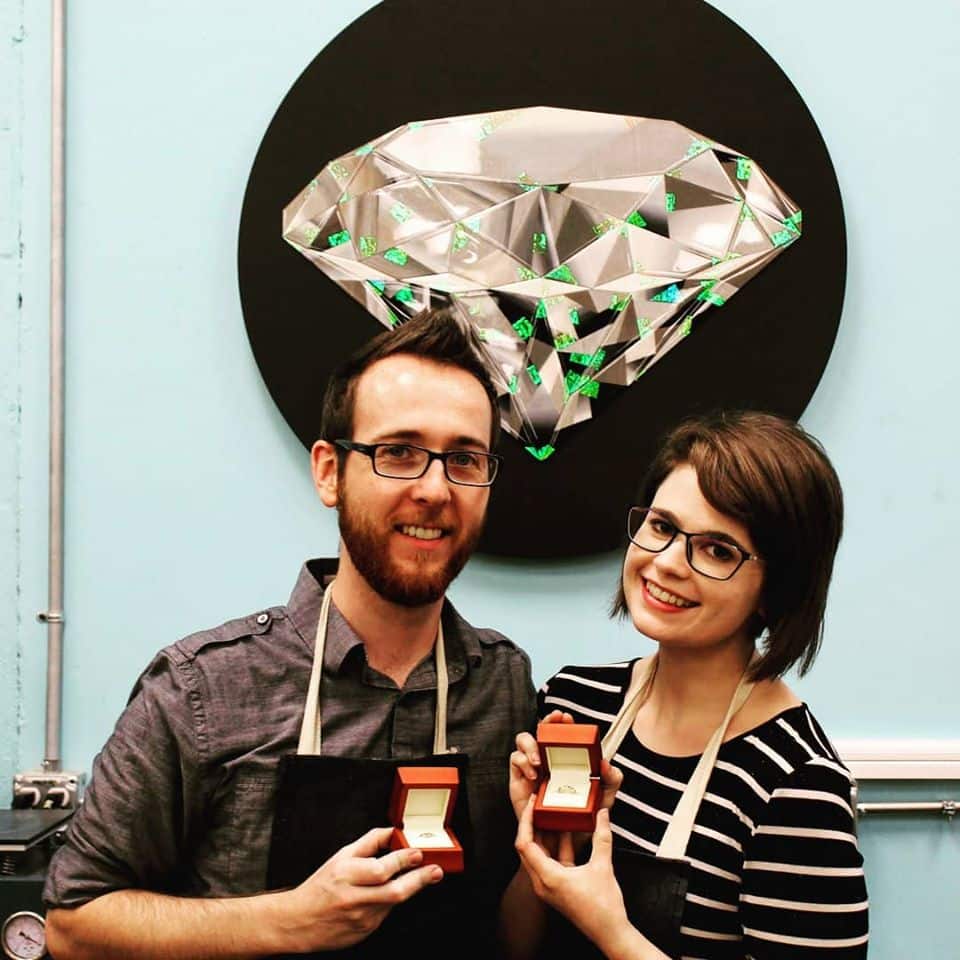
Whether it’s a symbol of love, a personal indulgence, or a treasured gift, we ensure the ring making process and final product reflect your relationship! 💓
Still, want to know more? Contact Us or send us a message, and we will contact you. If you are ready to get to work, Book your workshop now online.

